2020年6月7日
2020年9月21日
windows10でスクリーンショットを撮る方法を紹介
おすすめライフログ LIFELOG(@osusume_life)のかずのりです。
フリーランス15年以上の現役エンジニアです。
現在、コロナの影響で自宅で作業中のノマドワーカーです。
windows10パソコンでのスクリーンショット(写真)が面倒だと思っている方に簡単に撮れる方法を説明します。
こんな人に読んでほしい
勿論、ソフトウェアのインストールはなしです。
window10だけでスクリーンショットを撮る方法を説明
■PrintScreenボタンを押してスクリーンショットを撮る
手順1.PrintScreenというボタンを押してみる
あれ?なんにもおきない・・・・・
はい、そうです。
windows10の場合、PrintScreenを押しただけだと何もできません。
状態としては、画面全体をコピーしただけです。
イメージは下記の通り↓↓↓↓↓↓↓↓↓↓↓↓

手順2.windows10にはじめから入っている「ペイント」ソフトにコピーする
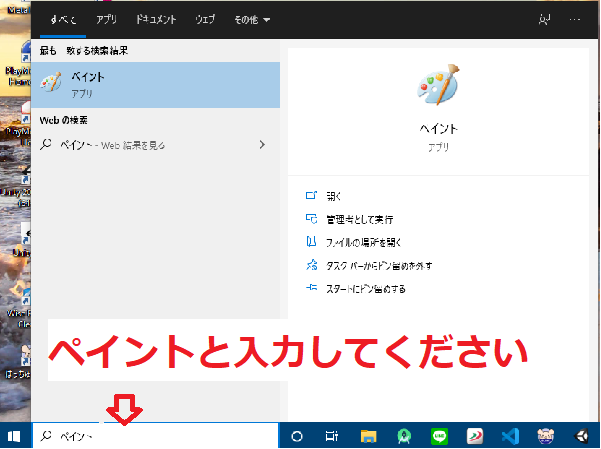
2-1.画像の通りwindows10の検索のところでペイントと入力してください
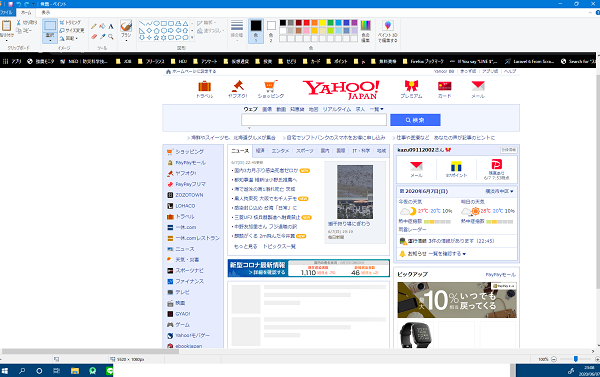
2-2.ペイントアプリ起動

2-3.キーボードの「Ctl」ボタンを押しながら「C」ボタンを押す
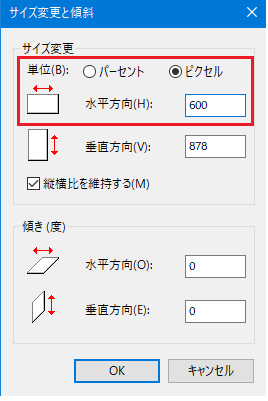
2-4.画像サイズ変更をする

2-5.ペイントの保存ボタンを押して画像を保存する
お疲れさまです。これで画面のキャプチャーができました!


- hdjかずのり
本職はプログラマー、副業で投資(FX、CFD)をやっています。現在は会社を企業→年間5000万以上の売り上げ→失敗→本業+投資→ブログを書いてマス。普段は、本業が終了後にジムに行きトレーニングし、その後、投資を行っております。
- 今話題のフィギア画像の作り方を教えます 2025年9月8日
- 日本人のAI音声ツール8選 2025年9月4日
- AIサイト一覧 2025年9月3日
- エンジニアに多い本人に気づかない不愉快なことを暴露します 2022年1月3日
- 2022年エコノミスト表紙から未来の出来事を暴露します 2021年11月28日